The Sentora server control panel comes pre-installed with PHP 5.3.20, MySQL 5.5.29, and Apache 2.4.3. These components can be updated to newer versions by Sentora’s developers in the future. This guide is intended for use with our Standard VPS or KVM Linux services, utilizing the CentOS 7 OS template.
Disclaimer:
Sentora is no longer actively developed and is not recommended for use on production servers.
Requirements:
- Root login access (sudo will not work)
Recommendations:
- Use a sub-domain pointed to the server’s IP address for accessing the panel after installation. Optionally, you may update your server hostname before installation if needed.
1. Minimizing the OS Template:
Sentora requires a minimal OS installation. To achieve this, you can refer to our guide on creating minimal OS distributions: Make Minimal OS.
2. Installing the Panel:
After minimizing the OS template, you need to install curl to simplify the installation process:
apt-get install curl
Once curl is installed, start the Sentora installation with:
bash <(curl -L -k -Ss http://sentora.org/install)
3. Completing the Installation:
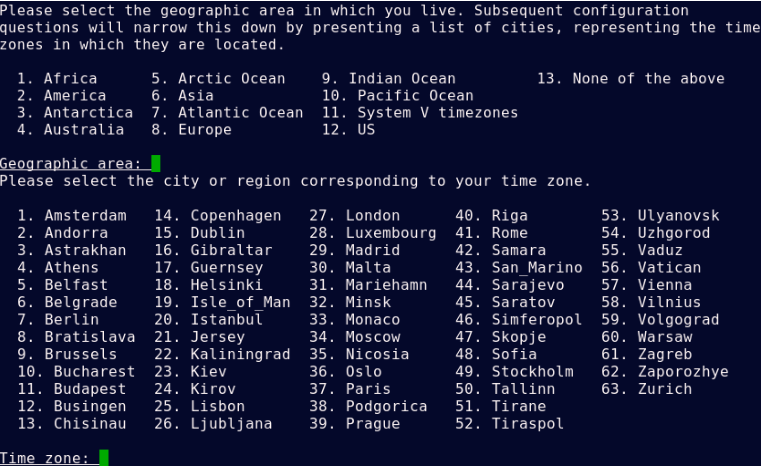
The Sentora installation process will run automatically, requiring minimal interaction. You will be prompted to configure the system by selecting a geographical location for timezone settings, specifying the sub-domain for the panel, and providing the server’s IP address.

For timezone settings, choose your geographic area and city. For example, select "Europe" and your city.
Set the sub-domain and IP address for the panel. By default, the server hostname will be suggested, but you can enter any sub-domain that points to your server. The IP address should auto-fill; if you have multiple IPs, you can specify an additional one as needed.

Enter the sub-domain for the Sentora panel: your.sub-domain.tld
Enter (or confirm) the public IP address of the server: 12.34.56.78
Once the sub-domain points to the correct IP address and the IP matches the VPS, a DNS check will complete the installation.
4. Finalizing Installation:
At the end of the installation, you will receive Sentora panel login details and a randomly generated password. The login username will be "zadmin," with the password displayed below it. You can copy this information from the console during installation or find it later in the /root/passwords.txt file.
To finalize the installation, restart the server by typing "y" and pressing "Enter."
5. Changing the Password:
To change the password for the main "zadmin" user, log in to the Sentora panel, go to "Account Information," and select "Change Password."