SQLite is a lightweight and widely used SQL database engine, implemented in C. It is highly efficient and supports interfacing with various programming languages. While most Linux distributions include SQLite3 in their repositories, these versions may be outdated or lack the latest features. This tutorial will guide you through installing SQLite3 from the official source code, followed by instructions on creating, reading, inserting, and deleting data in a simple database.
Prerequisites
Installation Steps
Before installing SQLite3, update your server and install the build-essential package:

Now, let's start configuring SQLite3.
1. Download the SQLite3 Package
Begin by downloading the latest SQLite3 package. Visit the official SQLite website, find the latest .tar.gz file link under the Source Code section, and copy the link. Then, use the following commands to download and extract the package:

2. Install and Configure SQLite3
After extracting the package, navigate to the directory and run the following commands to install SQLite3:

Verify the installation by checking the version:
sqlite3 --version

Alternatively, you can install SQLite3 directly from the Ubuntu repositories:
Working with SQLite3
1. Creating a Database
To create a database, use the sqlite3 command. For instance, to create a database named Buy Cheap VPS:
sqlite3 buycheapvps.db
After the database creation, you will receive an output:

2. Creating a Table
SQLite databases are structured into tables. Here's how to create a table named Buy Cheap VPS with the following columns: plan number, server name, server type, and monthly price:
CREATE TABLE buycheapvps(
number INTEGER NOT NULL,
name TEXT NOT NULL,
buycheapvps TEXT NOT NULL,
price INTEGER NOT NULL
);
To insert values into this table, use:

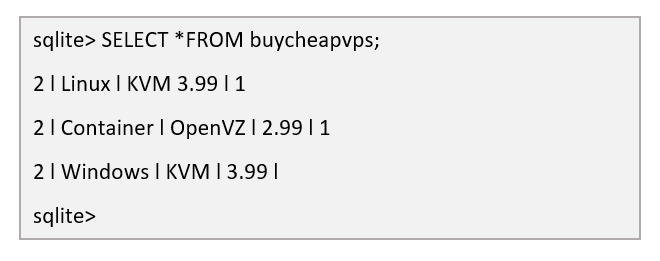
View the table's contents with:
SELECT * FROM buycheapvps;
The output should look like this:

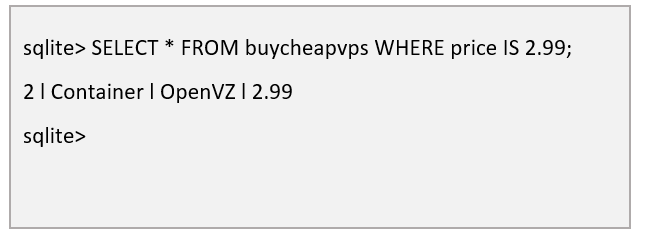
To filter results by price, for example:
SELECT * FROM buycheapvps WHERE price IS 2.99;
3. Updating Tables
To add a new column, such as CPU cores, use the ALTER TABLE command:
With UPDATE command, we will be able to update the newly created column:
UPDATE buycheapvps SET CPU= 1 WHERE number=2;
UPDATE buycheapvps SET CPU= 1 WHERE number=2;
UPDATE buycheapvps SET CPU= 1 WHERE number=2;
4. Deleting Data
To delete entries from the table where the price is less than or equal to 3.00:
DELETE FROM buycheapvps WHERE price <= 3.00;

More information regarding SQLite’s syntax, you can find on the official documentation of SQLite.