Apache is a free, open-source web server that allows users to access your application over the internet when hosted on it. However, there may be situations where you need to restrict access to your application so that only authenticated users can view it. This can be done by setting up password authentication using Apache htpasswd.
In this tutorial, we will guide you through setting up password authentication with Apache on Ubuntu 20.04.
Step 1: Connect to your server
Log in to your server as the root user and update your system with the latest available packages:
apt-get update -y
Step 2: Install Apache
Install Apache and Apache utilities:
apt-get install apache2 apache2-utils -y
Step 3: Start Apache
Once Apache is installed, start the Apache service and ensure it starts on boot:
systemctl start apache2
systemctl enable apache2
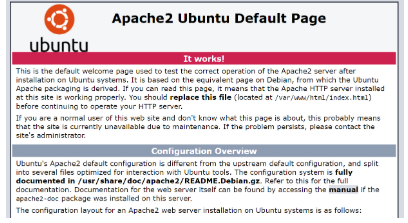
Step 4: Verify Apache Installation
Open your browser and navigate to http://your-server-ip/. You should see the default Apache web page.
Step 5: Create a Password File
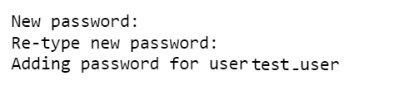
Now, create a hidden .htpasswd file in the /etc/apache2 directory to store the credentials for user authentication. To add a user, such as test_user, use the htpasswd utility:
htpasswd -c /etc/apache2/.htpasswd test_user
Enter the password for test_user when prompted. This will create the .htpasswd file containing the user credentials.
Step 6: Create Your Website Directory
Create a directory for your website:
mkdir /var/www/html/domain_name
Step 7: Create an Index File
Create an index.html file inside your web directory:
nano /var/www/html/domain_name/index.html
Add your website content here.

Step 8: Set Correct Permissions
Change the ownership of the web directory to www-data:
chown -R www-data:www-data /var/www/html/domain_name
Step 9: Create Apache Virtual Host Configuration
Create an Apache virtual host configuration file for your website and define basic authentication:
nano /etc/apache2/sites-available/domain.conf
Add the following configuration:
<VirtualHost *:80>
ServerAdmin webmaster@domain_name
ServerName domain_name
DocumentRoot /var/www/html/domain_name
DirectoryIndex index.html
ErrorLog ${APACHE_LOG_DIR}/error.log
CustomLog ${APACHE_LOG_DIR}/access.log combined
<Directory "/var/www/html/domain_name">
AuthType Basic
AuthName "Restricted Content"
AuthUserFile /etc/apache2/.htpasswd
Require valid-user
</Directory>
</VirtualHost>
Step 10: Check for Syntax Errors
Run the following command to check for syntax errors:
apachectl -t
You should see the output Syntax OK.

Step 11: Enable the Site and Restart Apache
Enable the Apache virtual host for your website:
a2ensite domain.conf
Then restart Apache to apply the changes:
systemctl restart apache2
Step 12: Test the Authentication
Open your browser and go to http://domain_name. You should be prompted to enter the username and password. Use the credentials you created (test_user), and after successfully signing in, you will see your website's default page.
Your site is now secured with Apache basic authentication.