Introduction
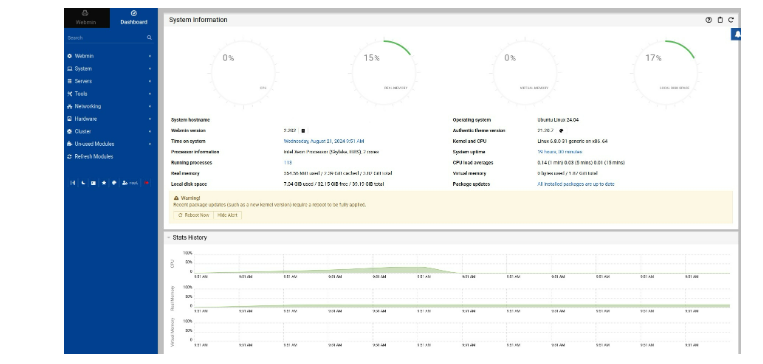
Webmin is a powerful web-based interface for managing servers through a user-friendly graphical interface. With just a web browser, you can access and configure your host system effortlessly.
Key Features of Webmin:
- Manage user accounts
- Update and configure system settings
- Install, update, and remove software packages
- View system logs and emails
- Configure the firewall
- Set disk quotas to control user storage
- Create virtual hosts
This guide provides step-by-step instructions for installing the latest version of Webmin on Ubuntu (starting from 20.04) and Debian (starting from version 11).
Prerequisites
Before starting the installation, you’ll need to ensure a few additional tools are installed and adjust firewall settings. Required tools include:
- vi (text editor)
- UFW (Uncomplicated Firewall)
Install UFW:
To install UFW, use the command:
apt install ufw
Enable it with:
ufw enable
Allow port 22 (SSH) if newly installed:
ufw allow 22
Install vi (or vim):
Install the text editor using:
apt install vim
Note: On Debian, the default vi editor is minimal. For a better experience, consider using nano or installing the enhanced vim.
Installation Guide
1. Update Your System
First, update your system:
apt update
apt upgrade
2. Download the Webmin Repository Script
Run the following command to download and execute the Webmin repository script:
curl -o setup-repos.sh https://raw.githubusercontent.com/webmin/webmin/master/setup-repos.sh; bash setup-repos.sh
Agree to any prompts by typing y.
3. Install Webmin
Install Webmin with:
apt install --install-recommends webmin -y
Check the status of Webmin:
systemctl status webmin
If running correctly, Webmin will be accessible at:

http://your_hostname:10000
4. Secure Webmin with Let's Encrypt
To secure the connection:
Allow HTTP port (80) for Let's Encrypt:
ufw allow 80/tcp
Install Certbot:
apt install certbot -y
Generate SSL certificates (replace your_domain and admin@email.ltd with actual values):
certbot certonly --standalone -d your_domain -m admin@email.ltd --agree-tos

Merge the certificate and key into a .pem file:
cat /etc/letsencrypt/live/your_domain/fullchain.pem /etc/letsencrypt/live/your_domain/privkey.pem > webmin.pem
mv webmin.pem /etc/webmin/
Update the Webmin configuration file:
vi /etc/webmin/miniserv.conf
Locate the line starting with keyfile= and set it to:
keyfile=/etc/webmin/webmin.pem
Restart Webmin:
systemctl restart webmin
5. Adjust Firewall Rules
Configure the firewall for Webmin:
Allow Webmin (port 10000):
ufw allow 10000
Allow HTTPS:
ufw allow https
Deny HTTP:
ufw deny http
Check the rules with:
ufw status

6. Test Webmin
Access Webmin securely in your browser at:
https://your_hostname:10000
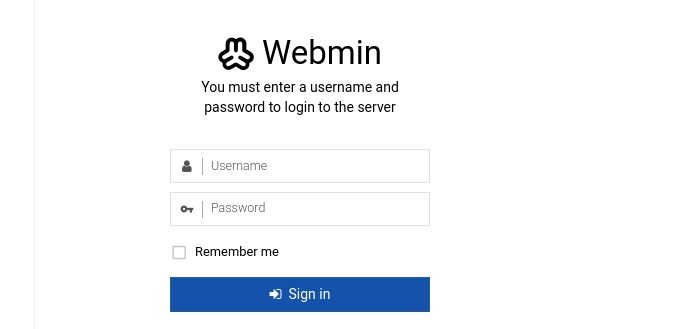
Log in using your root credentials or another server user account.


Conclusion
With Webmin installed and secured, you can now efficiently manage your server via a web browser. From user management to system configuration, Webmin simplifies server administration for both beginners and experienced users.