Introduction
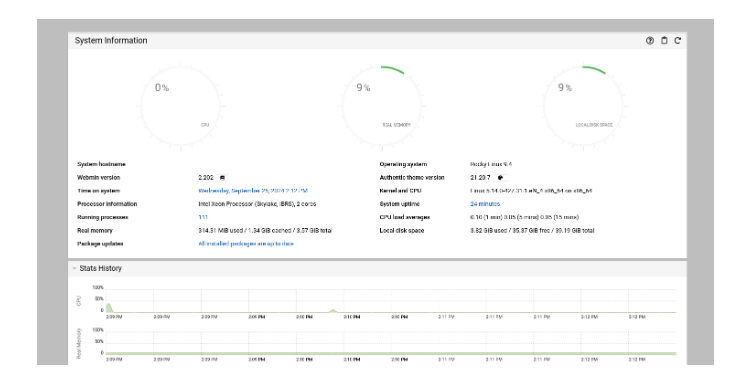
Webmin is a powerful, web-based interface designed to simplify server management. With Webmin, you can manage users, configure services, edit files, and monitor system status all through a browser interface. This tool eliminates the need for extensive command-line interactions, making server administration more accessible.
This guide walks you through installing Webmin on RedHat-based distributions, including Rocky Linux 9, AlmaLinux 8 and 9, and CentOS 7.
Important Note
CentOS 7 Reached End of Life
CentOS 7 reached its end-of-life (EOL) on June 30, 2024. For more details, visit the official CentOS blog.
You may face repository issues with CentOS 7. We recommend migrating to a supported OS.
If you encounter mirror issues, follow this guide for troubleshooting.
This guide is not recommended for CentOS 7 on Storage VPS.
Step 1: Update the System
First, ensure your system is updated:
Rocky Linux 9 / AlmaLinux:
dnf update -y
CentOS 7:
yum update -y
Step 2: Download Webmin Repository Script
Download the Webmin repository setup script:
curl -o setup-repos.sh https://raw.githubusercontent.com/webmin/webmin/master/setup-repos.sh
Run the script:
bash setup-repos.sh
Step 3: Install Webmin
Install Webmin using the package manager for your distribution:
Rocky Linux 9 / AlmaLinux:
dnf install webmin -y
CentOS 7:
yum install webmin -y
Verify the installation by checking Webmin's status:
systemctl status webmin
To enable secure access, follow the next steps to configure HTTPS.
Step 4: Open Port 80
Allow HTTP traffic by enabling port 80 on your firewall:
IPTables:
iptables -I INPUT -p tcp --dport 80 -j ACCEPT
service iptables save
systemctl restart iptables
Firewalld:
firewall-cmd --add-port=80/tcp --permanent
firewall-cmd --reload
Step 5: Secure Webmin with Let’s Encrypt
Install EPEL and Certbot:
Rocky Linux 9 / AlmaLinux:
dnf install epel-release certbot -y
CentOS 7:
yum install epel-release certbot -y
Generate SSL Certificate:
Replace your_domain with your actual domain and admin@email.ltd with your email:
certbot certonly --standalone -d your_domain -m admin@email.ltd --agree-tos
Certificate and key paths will be displayed in the output.

Combine Certificate and Key:
cat /etc/letsencrypt/live/your_domain/fullchain.pem /etc/letsencrypt/live/your_domain/privkey.pem > webmin.pem
mv webmin.pem /etc/webmin/
Update Webmin Configuration:
Edit the configuration file:
vi /etc/webmin/miniserv.conf
Update the keyfile path:
keyfile=/etc/webmin/webmin.pem
Restart Webmin to apply changes:
systemctl restart webmin
Step 6: Adjust Firewall Rules
Enable Webmin's ports and secure connections:
IPTables:
iptables -A INPUT -p tcp --dport 10000 -j ACCEPT
iptables -A INPUT -p tcp --dport 443 -j ACCEPT
iptables -A INPUT -p tcp --dport 80 -j REJECT
service iptables save
systemctl restart iptables
Firewalld:
firewall-cmd --add-port=10000/tcp --permanent
firewall-cmd --add-port=443/tcp --permanent
firewall-cmd --zone=public --remove-service=http --permanent
firewall-cmd --reload
Step 7: Test Webmin
Access Webmin via HTTPS in your browser:
https://your_hostname:10000

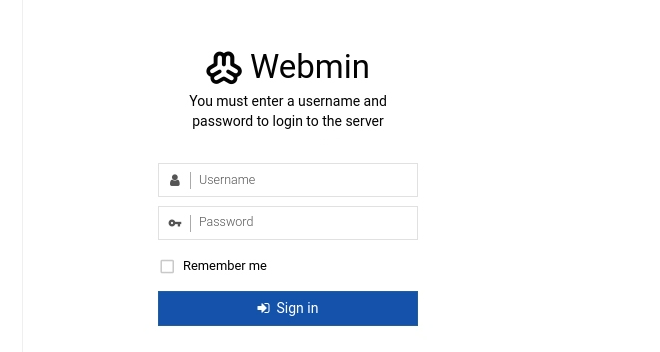
Log in with your root credentials or another server user account.

Congratulations! You’re now ready to manage your server efficiently with Webmin.