
Introduction
ISPConfig is a free, open-source control panel for Linux servers that allows you to manage websites, emails, FTP, web servers, and more through a user-friendly web interface.
This guide will walk you through the installation of ISPConfig on Ubuntu (version 20.04 and above) and Debian (version 11 and above).
Important Warning
Before installing ISPConfig, it is important to understand that it may modify existing configurations and impact other services running on your server. To avoid conflicts and ensure proper setup, it is strongly recommended to install ISPConfig on a clean, empty server without any critical data. This will allow the control panel to configure the system correctly without interference from existing configurations.
If you need to install ISPConfig on a server that already hosts other data or services, be aware that some configurations might be overwritten. Always back up all important data before proceeding with the installation.
During the installation, ISPConfig will automatically install several essential components, including:
- Apache or Nginx
- PHP
- MySQL/MariaDB
- Postfix
- Dovecot
- ClamAV
- BIND9
- Fail2Ban
- rsync
- Cron
- Logrotate
- ISPConfig Control Panel
- OpenSSL
The versions of these components depend on your system’s repository. You will be able to upgrade them later, but ensure that any upgrades are compatible with your current ISPConfig version. Always back up your server before upgrading any components.
Note: ISPConfig is not compatible with OpenVZ servers, including Container or Storage VPS. It can only be installed on Linux VPS (KVM).
Installation Guide
1. Update Your System
Begin by updating your server:
apt update && apt upgrade -y
2. Install ISPConfig and Required Components
To install ISPConfig with Apache, run the following command:
wget -O - https://get.ispconfig.org | sh -s -- --use-ftp-ports=40110-40210 --unattended-upgrades
If you prefer to install ISPConfig with Nginx, use this command:
wget -O - https://get.ispconfig.org | sh -s -- --use-nginx --use-ftp-ports=40110-40210 --unattended-upgrades
This command will start the ISPConfig installation process, which may take some time.
After installation, your ISPConfig admin and MySQL root passwords will be displayed. Be sure to save them for future use.
3. Remove Temporary Log Files
Delete the temporary ISPConfig log file by running:
rm -rf /tmp/ispconfig-ai/var/log/setup-*
4. Access ISPConfig
To access the ISPConfig control panel, go to your server’s hostname followed by port 8080:
https://your_hostname:8080
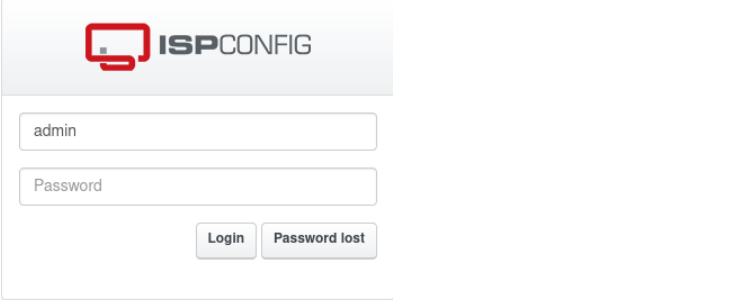
The login page will appear. Use "admin" as the username and enter the ISPConfig admin password you saved earlier.
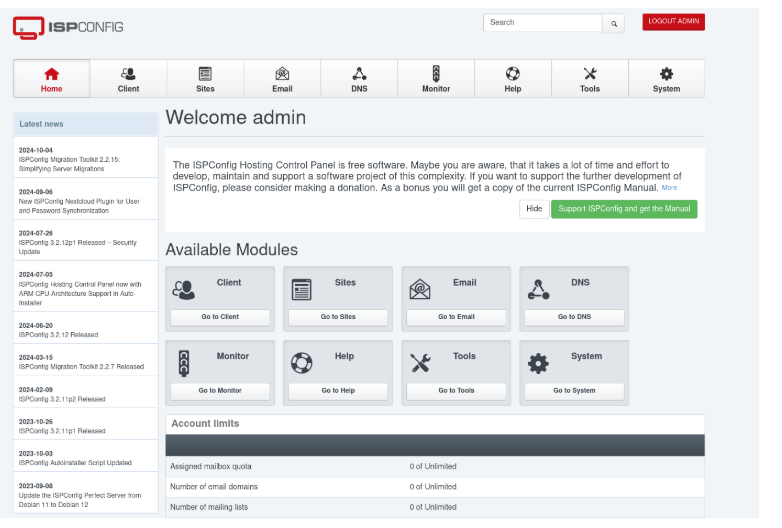
Upon logging in, you will be taken to the ISPConfig dashboard, where you can begin managing your server.
Post-Installation Configuration
1. Change the Default Admin Password
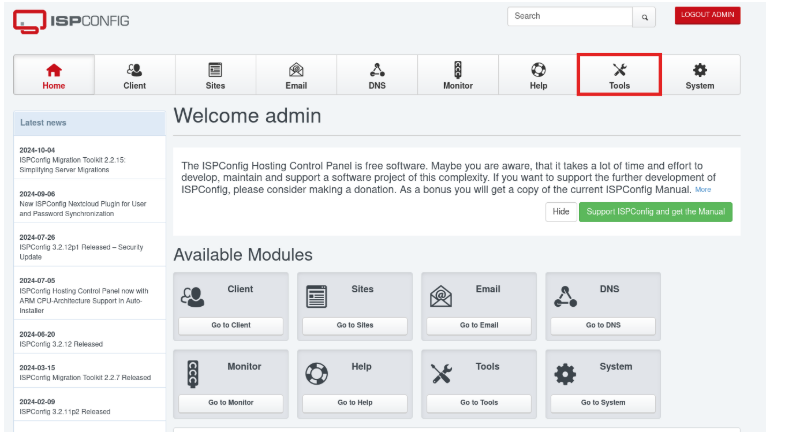
For security reasons, it’s crucial to change the default admin password. Once logged into ISPConfig, go to Tools > User Settings.
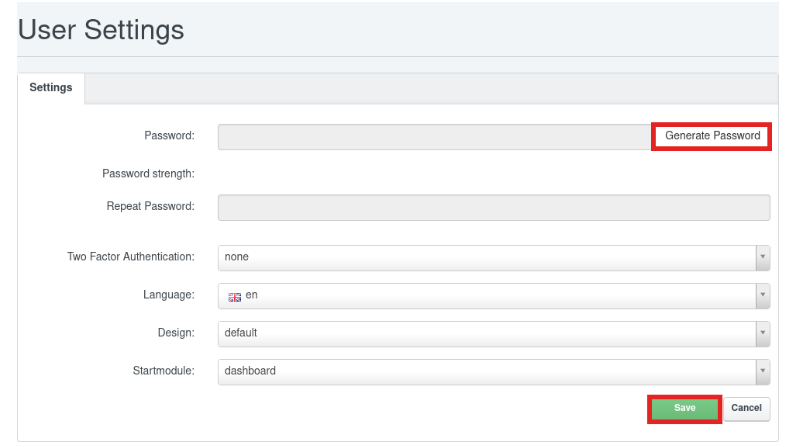
Click Generate password, then generate a strong password. After entering your new password, click Save.
2. Set Up the ISPConfig Firewall
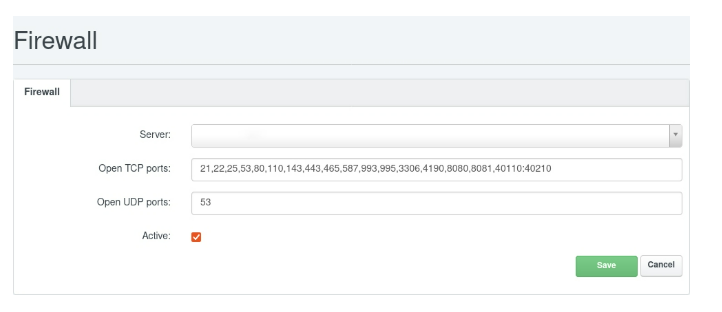
By default, the auto-installer configures necessary ports through UFW (Uncomplicated Firewall). These ports include:
21, 22, 25, 80, 443, 40110-40210, 110, 143, 465, 587, 993, 995, 53, 8080, 8081.
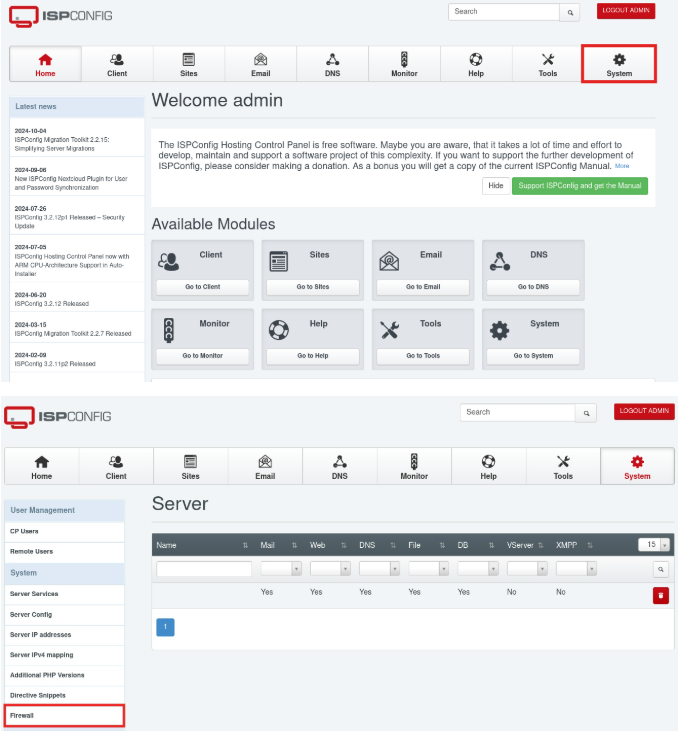
To apply the firewall settings, navigate to Systems > Firewall in ISPConfig.
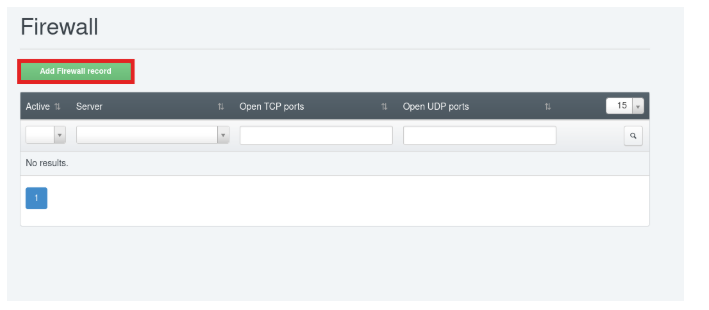
Click Add Firewall Record
Next add any additional ports you need, separated by commas, in the Open TCP ports or Open UDP ports fields. Click Save when finished.
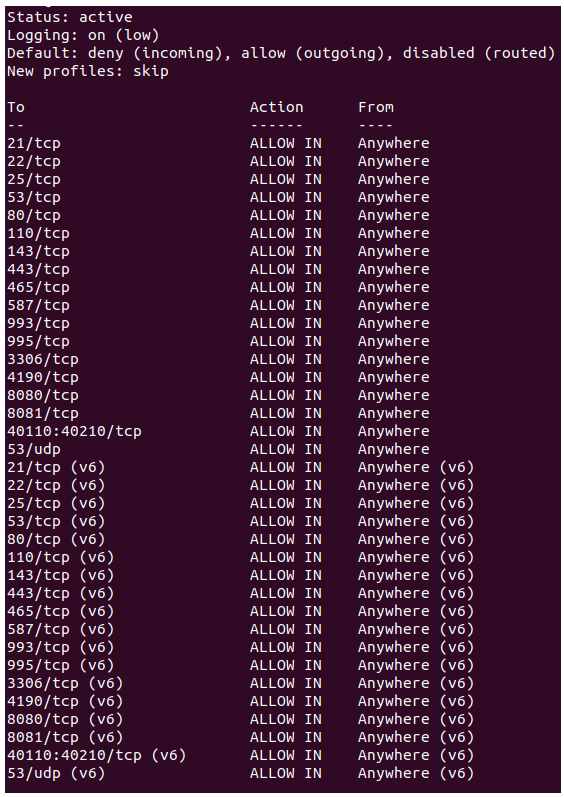
Make sure UFW is enabled by checking its status:
ufw status
If UFW is not enabled, you can start it with:
ufw enable
To view all open ports, run:
ufw status verbose
Conclusion
By following this guide, you have successfully installed ISPConfig, configured the necessary components, and set up security features such as firewall rules. You can now efficiently manage your server and its services via the ISPConfig dashboard.