Introduction
CloudPanel is a free, open-source control panel designed for speed and efficiency. Unlike other control panels, it doesn't include a mail server, which helps keep server load low and performance high. CloudPanel allows you to add sites, create free SSL certificates, install various CMSs with a single click, and more.
This guide will walk you through installing CloudPanel on Ubuntu 22.04 & 24.04 and Debian 11 & 12.
Important Warning
Before installing CloudPanel, it is highly recommended to back up your server, especially if it contains custom configurations.
Additionally, the following components will be installed during the CloudPanel setup:
- NGINX Webserver
- PHP
- MariaDB (version varies based on installation)
- Redis
- UFW (if not already installed)
Installation Guide
1. Update the System
Start by updating your system:
apt update && apt upgrade -y
2. Install Dependencies
Install the necessary dependencies with the following command:
apt install wget curl sudo -y
3. Install CloudPanel
Depending on the MySQL or MariaDB version you want to use, run one of the following commands:
MySQL 8.0:
curl -sS https://installer.cloudpanel.io/ce/v2/install.sh -o install.sh; echo "a3ba69a8102345127b4ae0e28cfe89daca675cbc63cd39225133cdd2fa02ad36 install.sh" | sha256sum -c && sudo bash install.sh
MariaDB 10.11:
curl -sS https://installer.cloudpanel.io/ce/v2/install.sh -o install.sh; echo "a3ba69a8102345127b4ae0e28cfe89daca675cbc63cd39225133cdd2fa02ad36 install.sh" | sha256sum -c && sudo DB_ENGINE=MARIADB_10.11 bash install.sh
MariaDB 11.14:
curl -sS https://installer.cloudpanel.io/ce/v2/install.sh -o install.sh; echo "a3ba69a8102345127b4ae0e28cfe89daca675cbc63cd39225133cdd2fa02ad36 install.sh" | sha256sum -c && sudo DB_ENGINE=MARIADB_11.4 bash install.sh
The installation process may take some time. Once completed, you will be provided with a link to access CloudPanel.
4. Access CloudPanel
After installation, you can access CloudPanel by entering your server's IP address, followed by port 8443, in your browser:
https://your_server_ip:8443
You may see a security warning since SSL is not enabled by default. This is normal, and you can proceed. SSL will be set up later within CloudPanel.
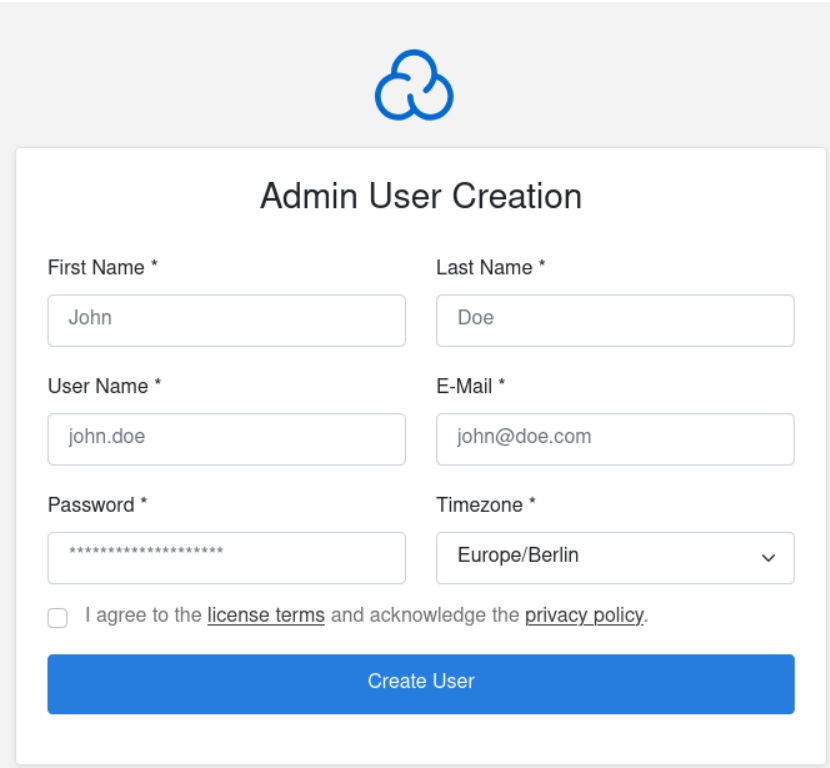
Once logged in, you'll need to create a new CloudPanel user by entering your desired login credentials and clicking "Create User."
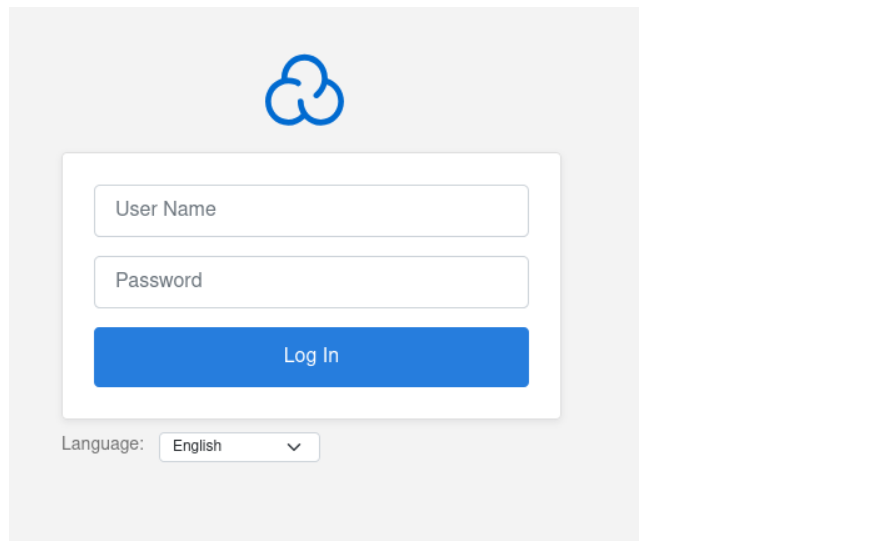
Post-Installation Configuration
Add a New Website

After logging in, you'll be directed to the "Sites" page where you can manage your websites. Click the "+Add Site" button.

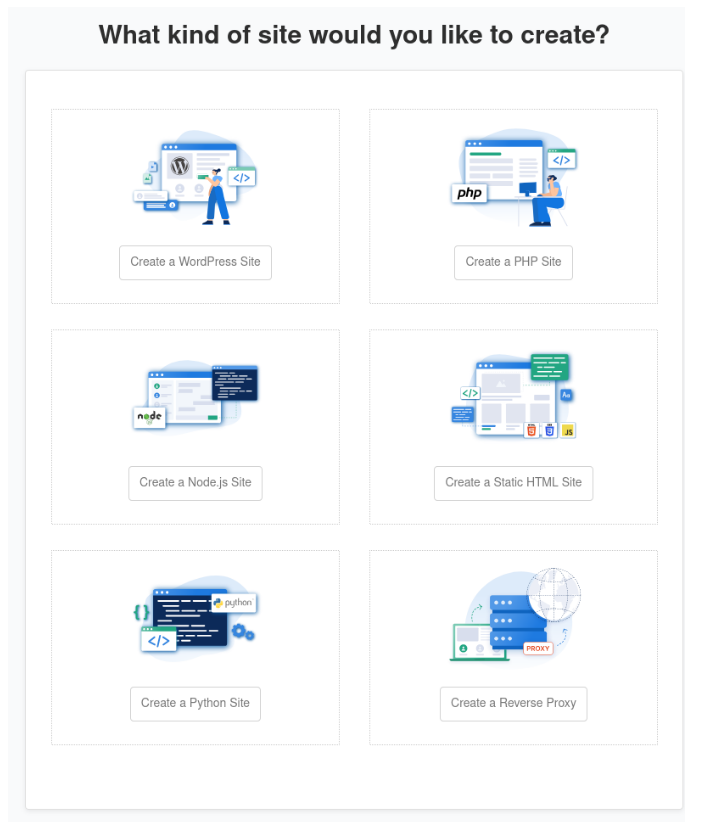
Choose the type of site you'd like to create (e.g., WordPress).
Then, enter the necessary details for your site (domain, site title, username, etc.).
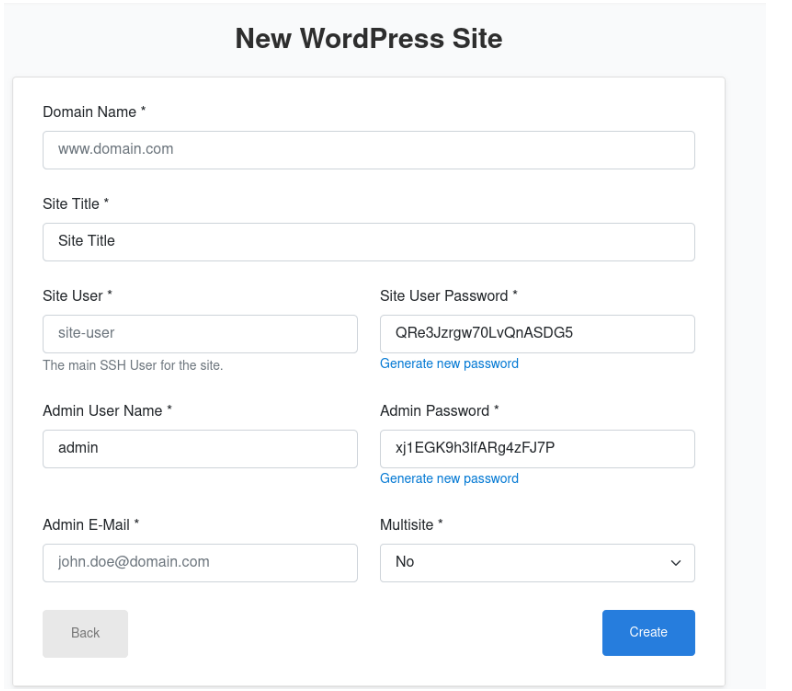
Once completed, you'll receive credentials for your site, and it will appear on the "Sites" page for management.

Install Let's Encrypt for Your Website
By default, CloudPanel does not have Let's Encrypt installed, leaving your connection unsecured. To install it:
Ensure your domain points to the server's IP address via an A record.
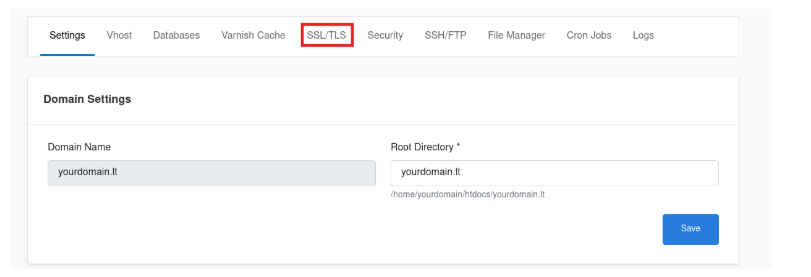
Navigate to the "Sites" page and click "Manage" for the site you want to secure.

- Click on "SSL/TLS," then click "Create and Install" to set up Let's Encrypt.
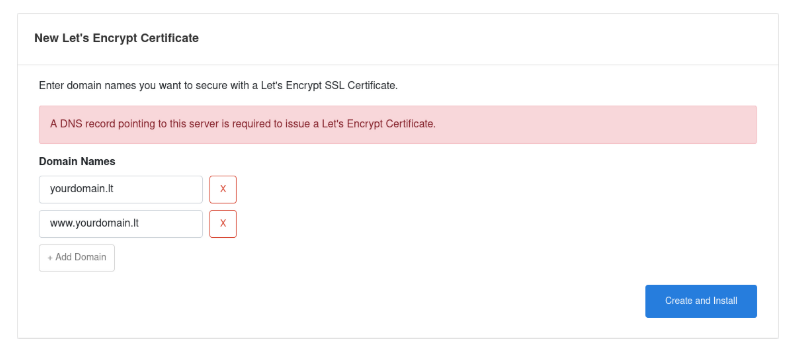
- Wait for the installation to complete, and you will see a success message.

Monitor Server Performance
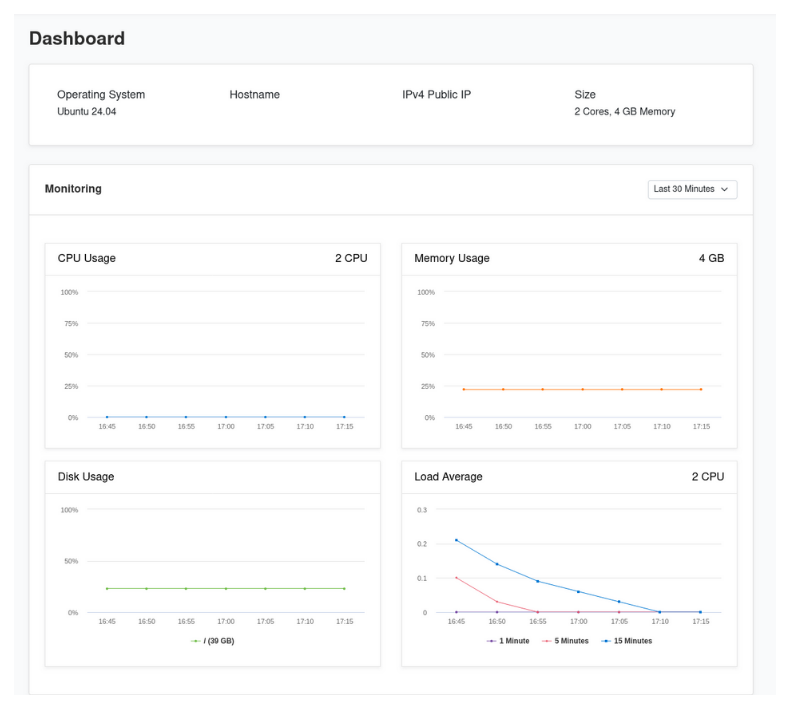
You can view server performance by clicking on the "Dashboard" tab.

- Here, you'll find resource usage details and can adjust the time range for usage data (default is 30 minutes)
.
Conclusion
Setting up CloudPanel on your server is a straightforward process that provides an intuitive platform for managing websites, databases, and other hosting services. Following this guide, you should now have CloudPanel up and running, offering a powerful and efficient hosting environment.