Introduction
Control Web Panel (CWP), previously known as CentOS Web Panel, is a powerful and free hosting control panel designed to simplify server management. With its intuitive interface and comprehensive set of features, CWP makes it easy to manage server configurations, websites, email setups, security, and optimize performance—whether you're a beginner or an experienced server administrator.
While initially built for CentOS, CWP is now compatible with other Linux distributions. This guide will walk you through the process of installing CWP on AlmaLinux 9 and Rocky Linux 9.
Important Note
It is strongly recommended to install Control Web Panel on a fresh, clean server. Installing it on a server with existing configurations may alter current settings and could disrupt other services.
Before beginning, make sure to back up any critical data if your server already contains important configurations.
During installation, several essential components will be automatically installed to ensure CWP functions correctly, including:
- Apache
- PHP
- MariaDB
- Postfix & Dovecot
- Bind
Installation Guide
1. Update the System
Begin by updating your system:
dnf update && sudo dnf upgrade -y
2. Install Essential Packages
Install wget with the following command:
dnf install wget -y
3. Install CWP
Download the CWP installer script:
wget http://centos-webpanel.com/cwp-el9-latest
Then, run the installation script:
sh cwp-el9-latest
Note: The installation process may take some time.
4. Reboot the Server
After the installation completes, reboot your server to apply the changes:
reboot
5. Access Control Web Panel
To access your Control Web Panel, open your browser and enter your server’s IP address followed by port 2031:
https://your_server_ip:2031/
You might see a warning about an unsecured connection. This occurs because CWP uses a self-signed SSL certificate by default during the initial installation. This does not indicate an unsafe connection; it simply means the certificate hasn't been verified by a third party. Feel free to proceed without concerns.

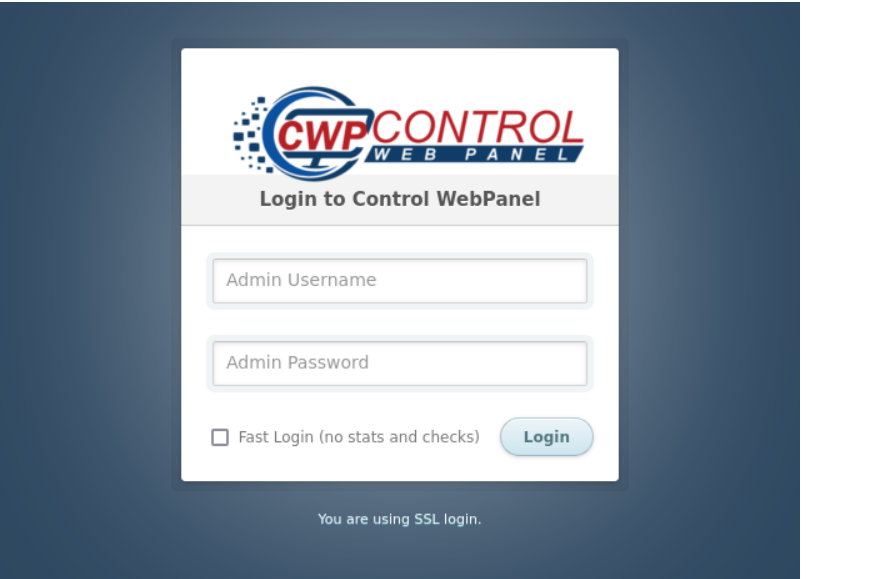
Once you reach the login page, enter your root login credentials and click "Login". It’s recommended to avoid the "Fast Login (no stats and checks)" option.
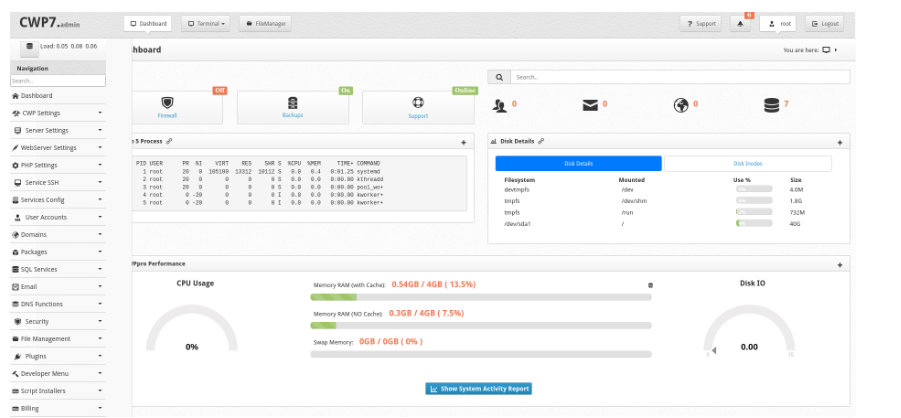
After logging in, allow the panel some time to fully load. Once the dashboard appears, you’ll have access to all CWP features.

Pricing
CWP offers a free version with essential features, while paid packages are also available, providing additional functionality. For detailed pricing information, visit the official CWP website.
Conclusion
Control Web Panel is a valuable tool for simplifying web hosting management. It offers an easy-to-use interface for tasks such as managing domains, databases, and emails, as well as installing software and monitoring server performance.
For more details on CWP features and step-by-step tutorials, check out the official documentation.