Introduction
Webmin is a web-based tool for configuring Unix-like systems. It allows you to manage operating system settings like users, disk quotas, and services, as well as control open-source applications such as Apache HTTP Server, PHP, and MySQL.
Webmin runs on Perl, operates as its own web server, and communicates over TCP port 10000. It supports SSL if OpenSSL is installed with the necessary Perl modules.
For more details, visit the official Webmin page.
Webmin Template Installation
With BuyCheapVPS, you can easily and quickly install the Webmin template with just a few clicks:
Log in to the Client Area.
Go to "My Services > VPS."
Click "Manage" for your service.
Hit "Install OS."
Choose the operating system, agree to the warning, and click "Continue."
Wait 5-10 minutes and refresh the VPS management page.
The Webmin template includes:
CentOS 7
Apache 2.4.6
PHP 5.4.16
MySQL 5.5.64
1. Login
To access the Webmin control panel, enter the following URL in your browser:
http://ip_of_your_server:10000
Use your server's "root" login credentials, available in the Clients Portal.

2. Adding a New Website
To add a new website:
Go to "Create Virtual Server" in the left menu.
Enter the domain, description, password, adjust additional settings if needed, and click "Create server."
3. Email Accounts and FTP Users
To manage email accounts and FTP users:
Adding a site will create new menu items for user management.
Go to "Edit Users > Add a user to this server."
Enter the email address, username, and password.
Set email account size under "Quota and home directory settings."
Add extra email addresses under "E-mail settings."
Configure mail forwarding and auto-replies under "Mail forwarding settings."
Define FTP and MySQL access under "Other user permissions."
For FTP and email accounts, the login name format is "name@domain.tld."
4. MySQL Database
To create a new MySQL database:
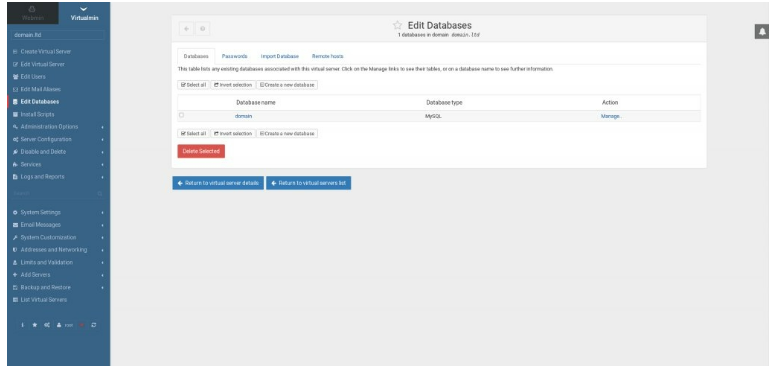
Go to "Edit Databases > Create a new database."
Enter the database name and click "Create."

5. DNS Management
DNS management is found under the "Webmin" section:
Go to "Servers > Bind DNS Server."
Configure DNS zones and manage Bind DNS service settings here.
6. Temporarily Suspend a Website
To suspend a site:
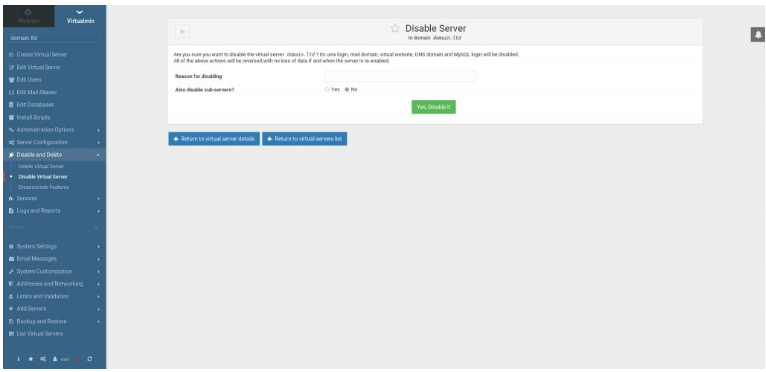
Select "Disable and Delete > Disable Virtual Server."
Enter a reason for suspension and click "Yes, disable it!" The site will remain suspended until you unsuspend it.

7. Remove a Website
To delete a site and all associated records:
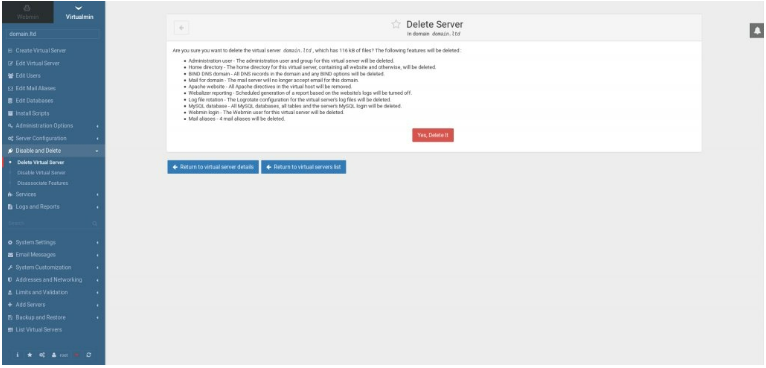
Go to "Disable and Delete > Delete Virtual Server."
Click "Yes, delete it" to remove all files, users, email accounts, and databases.

8. Password Reset
To change the "root" password for Webmin, use SSH to log in to your server and run:
/usr/libexec/webmin/changepass.pl /etc/webmin root yournewpassword
Replace "yournewpassword" with your new password. If successful, you’ll see:
Updated password of Webmin user root
Find more information about Webmin control panel here.