
Introduction
The Vesta Control Panel is a free, open-source solution that provides integrated website, email, database, and DNS management.
For more details, visit the official site: VestaCP Website
Installing the VestaCP Template
With BuyCheapVPS, you can easily install the VestaCP template in just a few clicks:
Log in to the Client Area.
Navigate to "My Services > VPS" from the top menu.
Click the "Manage" button for your service.
Click "Install OS."
Select the operating system, agree to the warning, and click "Continue."
Wait 5-10 minutes, then refresh the VPS management page.
The VestaCP template includes:
CentOS 7
Apache 2.2.15
PHP 5.5.28
MySQL 5.5.45
Nginx 1.4
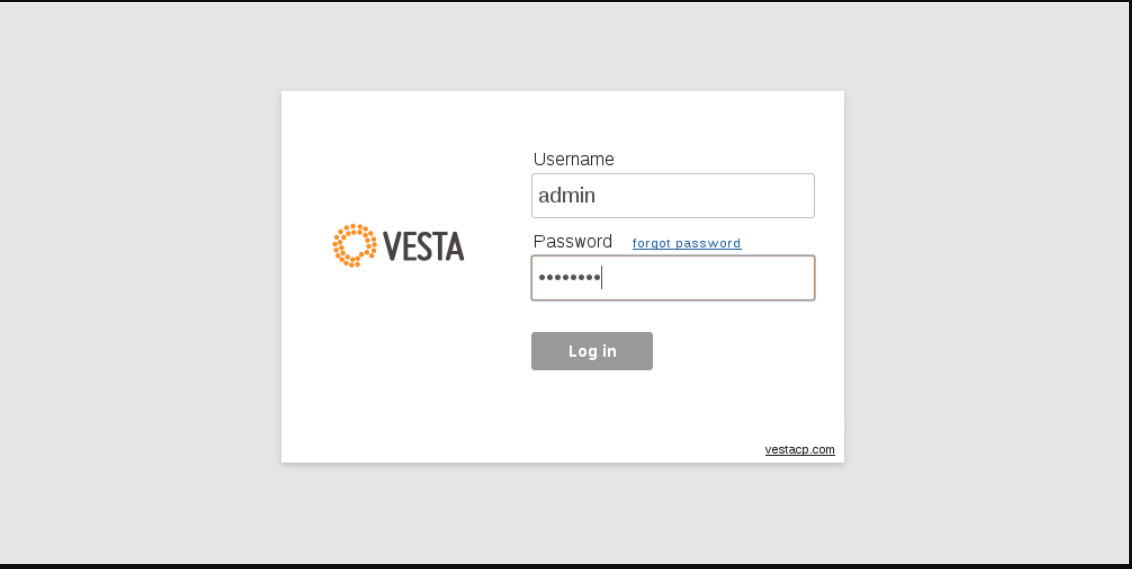
1. Logging In
To access VestaCP, use port 8083 in your browser:
https://your_server_ip:8083/login/
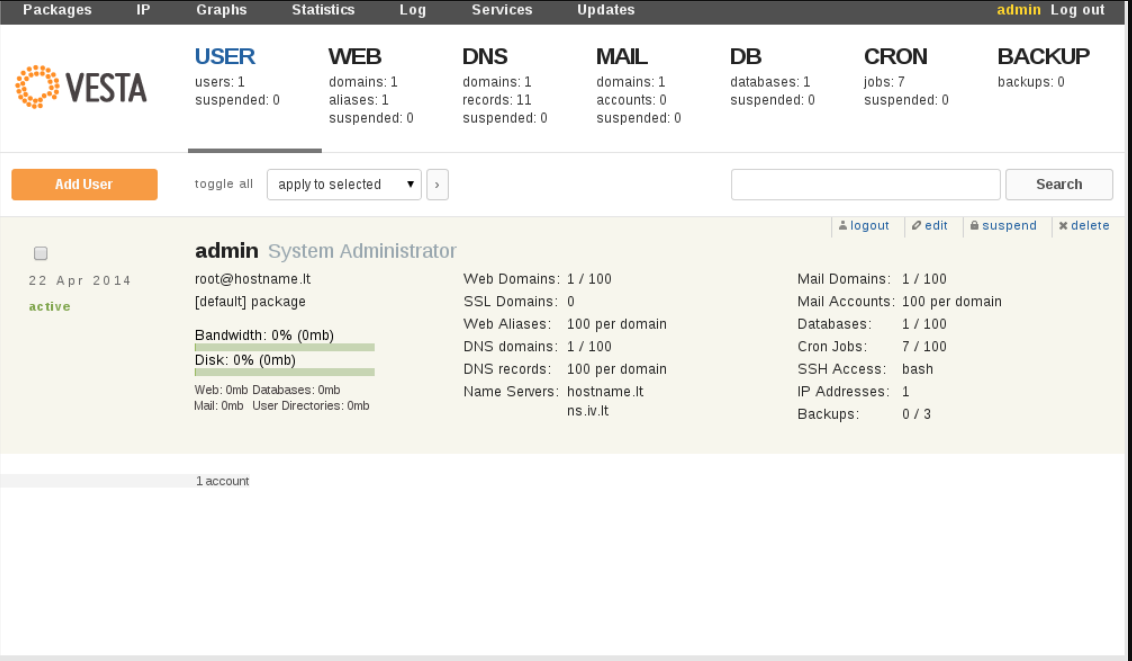
Log in with the username "admin" and the server's root password, which can be found in the Clients Portal.
2. Adding a New User
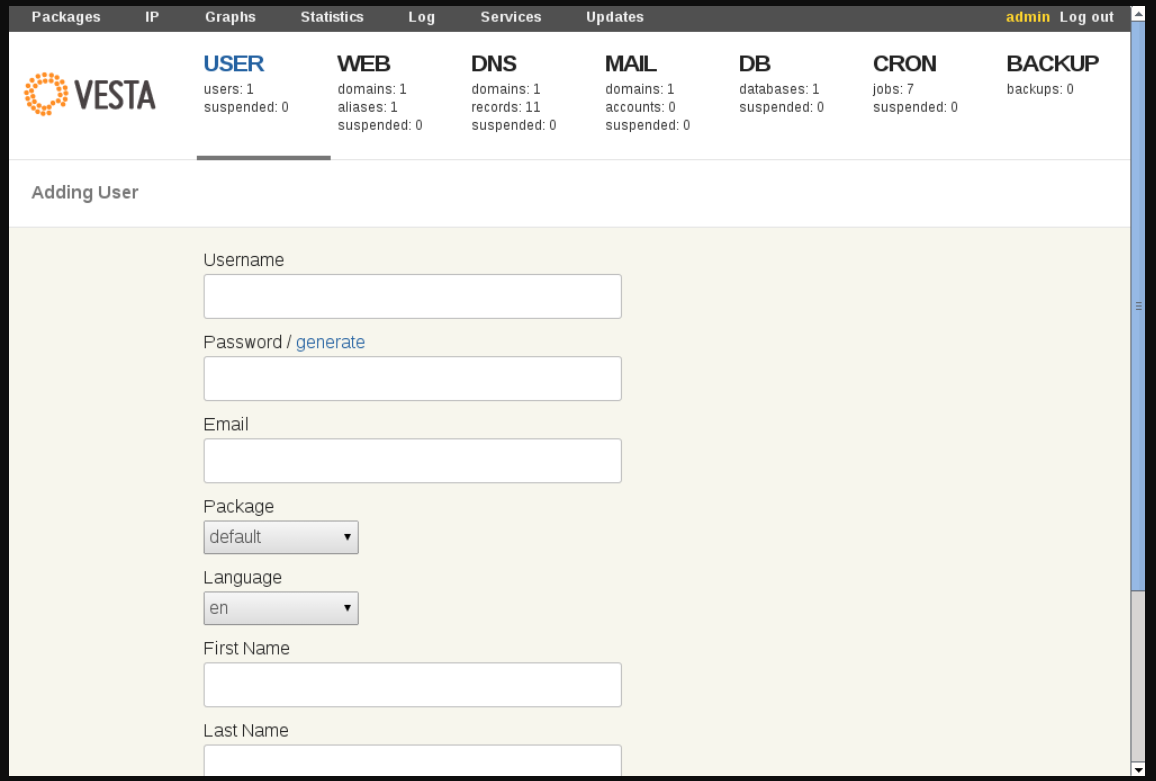
In the control panel, go to "User" and click "Add User." Enter the required information and click "Add."
3. Adding a New Website
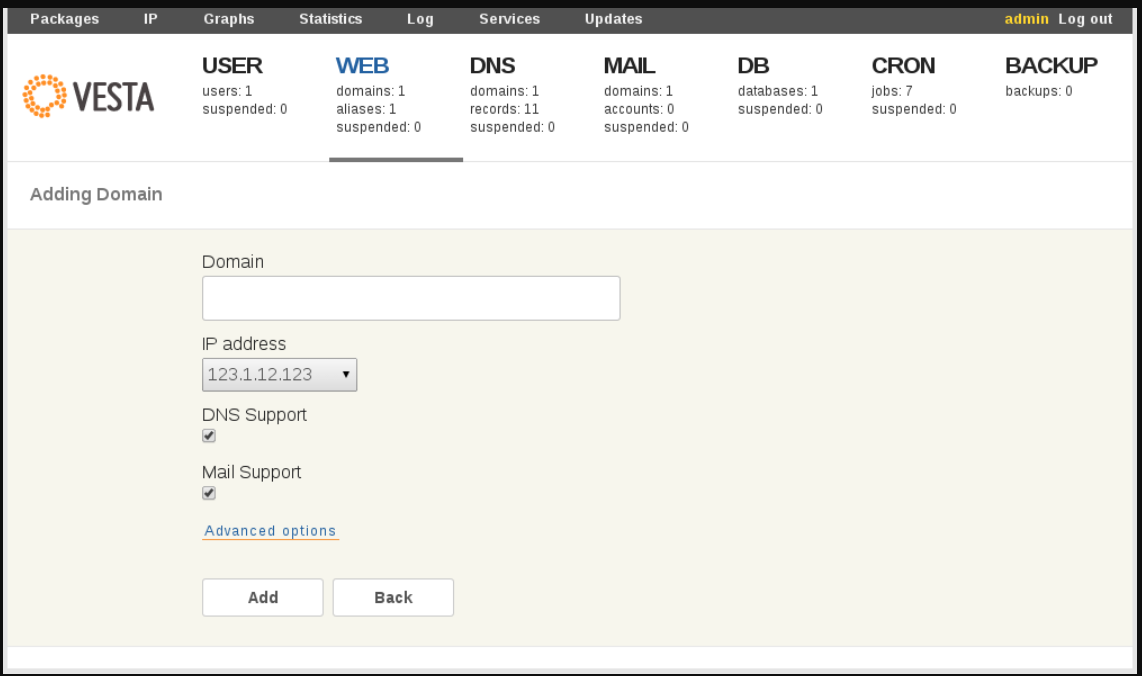
Log in with the desired user. Go to "Web," click "Add Web Domain," fill in the necessary details, and click "Add."
If you want to add an additional FTP user, check the "Additional FTP" box under "Addition options." Note that only one additional FTP user is allowed.
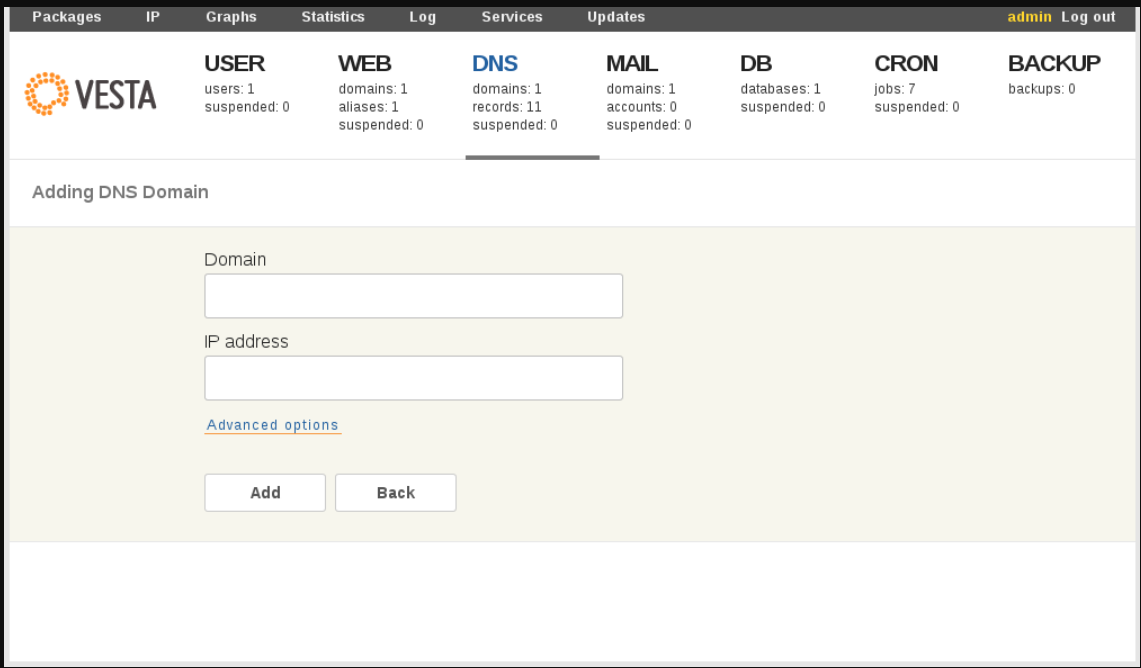
4. Adding a Domain to DNS Management
In the control panel, go to "DNS" and click "Add DNS Domain." Enter the required information and click "Add."
5. Adding an Email Account
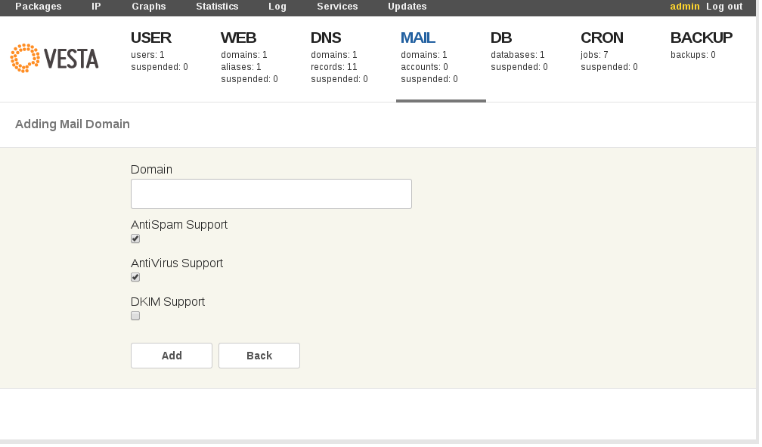
First, add the domain for your email accounts. Go to "EMAIL," click "Add Mail Domain," enter the necessary details, and click "Add."
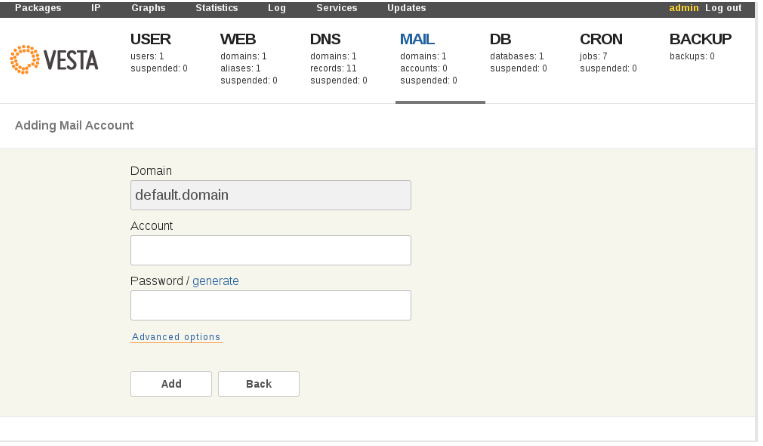
Then, in the "MAIL" section, click "+ Add Account" next to the domain, fill in the information, and click "Add."
6. Adding a Database
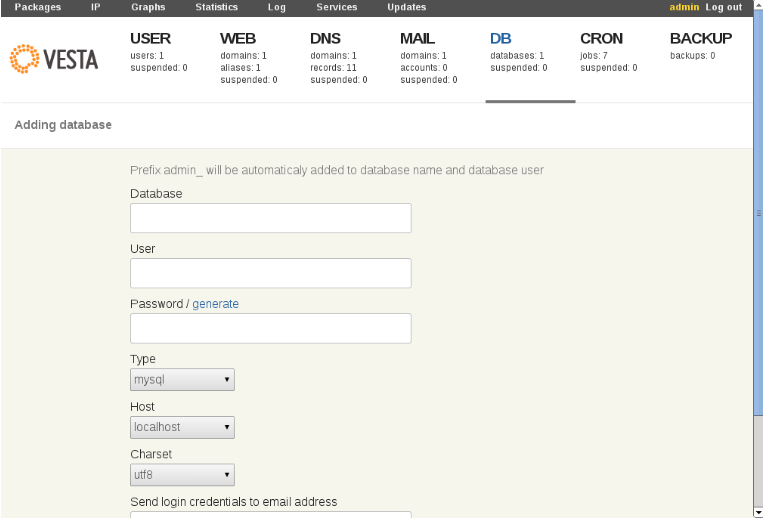
In the control panel, go to "DB" and click "Add Database." Enter the required information and click "Add."
7. Password Reset
To reset the VestaCP "admin" password, run the following command:
passwd admin
You will be prompted to enter a new password twice. Upon successful completion, you should see:
passwd: all authentication tokens updated successfully.
For more information on using VestaCP, visit:
VestaCP Official Website
VestaCP Documentation